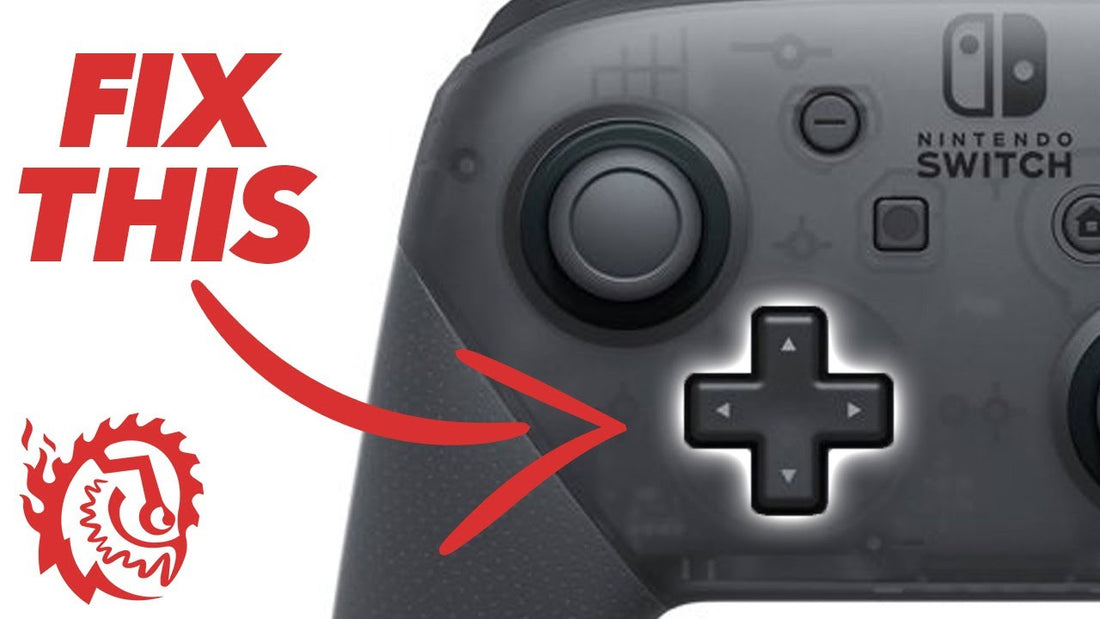
Have you ever been engrossed in a game of Tetris on your Nintendo Switch, only to experience a miss-drop or some other bizarre move you know you didn't intend? That's likely due to the less-than-stellar D-Pad on the Switch Pro Controller. But don’t worry, we’re going to help you improve it.
Why Does the D-Pad Misbehave? The root of the problem lies in the controller's design. The contacts on the board are overly sensitive, leading to accidental inputs. When you toggle quickly between left and right, you might inadvertently get an up or down command. Frustrating, right?
The Solution: By placing a little tape over these contacts, we can reduce their sensitivity.
Step-by-Step Guide to Fixing the D-Pad:
-
Preparation: If you're nervous about opening up your controller, fear not! Just organize your workspace and ensure you have the necessary tools on hand.
-
Unscrewing:
- Remove the handles, held by one screw each.
- You’ll find four more silver screws, remove them too.
- With the back plate off, remove the battery, revealing a third set of five screws, including two at the top.
-
Opening the Controller:
- Separating the two halves can be tricky due to strong tape binding them.
- Be gentle! There's a ribbon cable connecting them that you don’t want to snap.
- Disconnect this ribbon cable carefully using a razor blade or similar tool.
-
Working on the Front Board:
- Remove four screws from the front board.
- Disconnect a smaller, delicate ribbon cable.
- Gently remove the front PCB, revealing the four D-Pad contacts.
-
Applying the Tape:
- Use clear scotch tape (it works best) and place a small piece over the inside edge of each contact. This will block any unintended inputs.
- As you work, some buttons may fall out. No worries! They have unique shapes so it's easy to slot them back in.
-
Reassembly:
- Basically, reverse your disassembly steps.
- The ribbon cables can be tricky to reattach, so be patient.
The Result: With your newly modified controller, you should experience more accurate D-Pad inputs. To test the improvement, try playing a game requiring precise controls. The difference is noticeable, and in competitive games, it can give you an edge.
If this is your first time modifying a controller, congratulations! It might seem daunting, but with patience and care, anyone can do it. If this guide was helpful, please like, subscribe, or leave a comment. Happy gaming, and see you next time!
![Space Drop Handheld Game [Solder Kit]](http://hackmakemod.com/cdn/shop/articles/C0012.00_04_21_15.Still031.jpg?v=1773510848&width=533)