Build a Simple Color Checker with an LDR and WS2812 LED
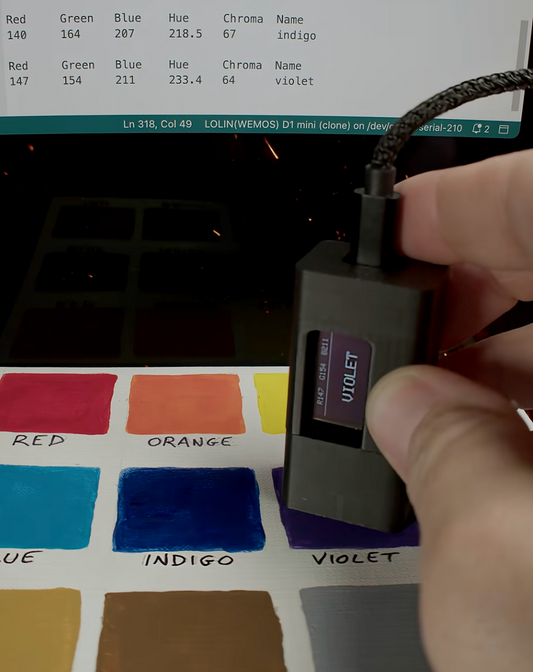
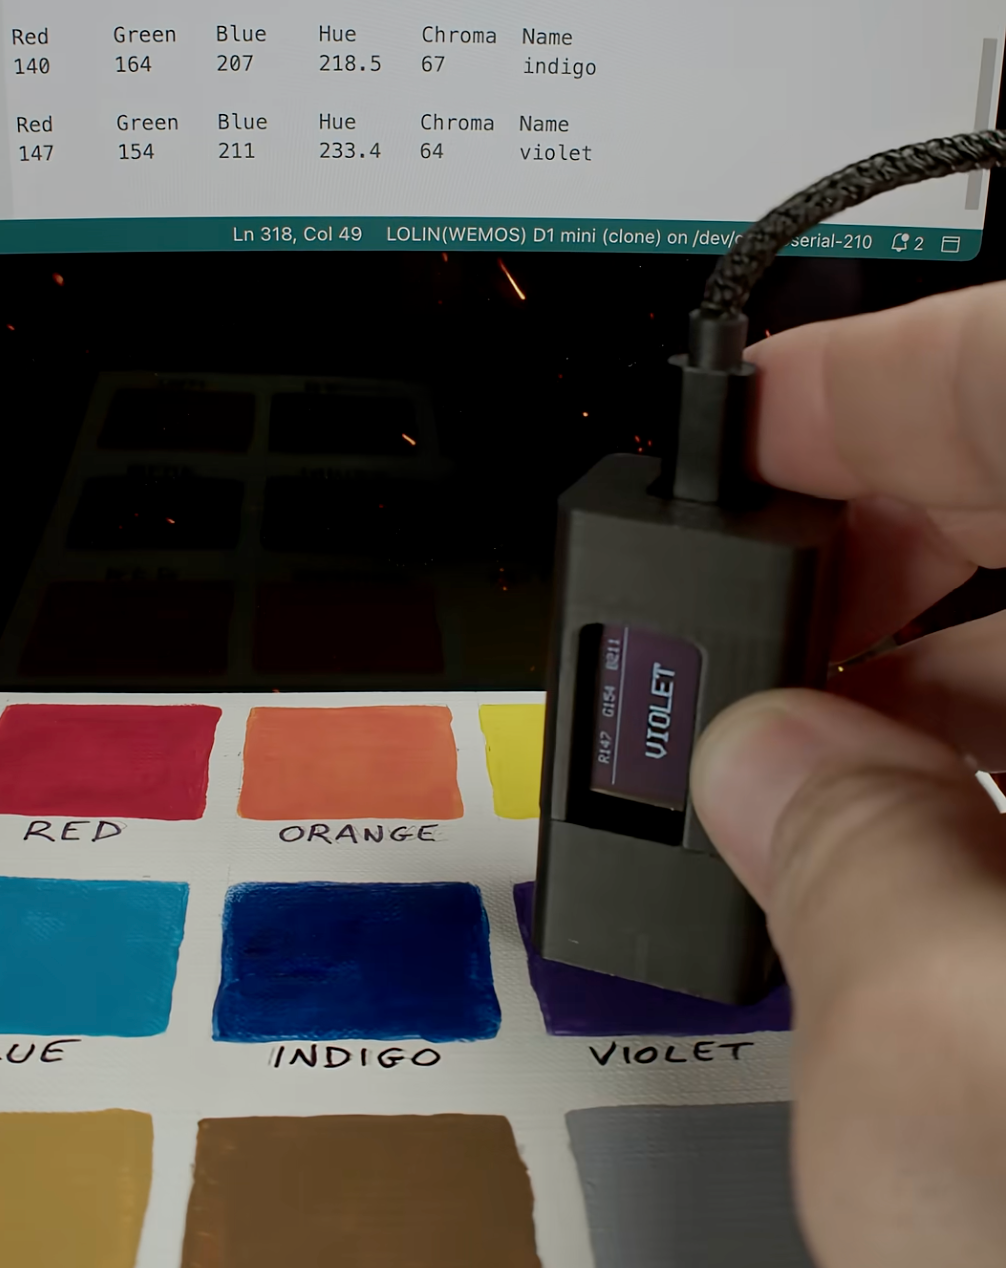
When detecting colors you can get surprisingly good results with just a handful of common parts. In this project, we’ll build a DIY color checker using a Light Dependent Resistor (LDR), a single WS2812 LED, and a small OLED display. An ESP8266 (D1 mini) is at the core and translates reflections into readable color names.
NOTE: this project is still very rough and results will most likely vary due to the various tolerances on parts and the noise of most LDRs.

How It Works
LDR basics: An LDR changes its resistance depending on light intensity. More light means lower resistance, which we can measure as an analog voltage.
Shining light: By shining red, green, and blue light on a surface and recording how much of each is reflected back, we create a unique “pattern” for each color.
Pattern matching: The ESP8266 code compares the reflection pattern to a table of known values and outputs the closest color name.
Calibration: A long button press (2 seconds) lets you calibrate on a white surface, so the readings adapt to your environment and lighting.
Parts You’ll Need
- 1 × LOLIN(WEMOS) D1 mini (ESP8266)
- 1 × 10k LDR (photocell)
- 1 × 10k resistor (for voltage divider)
- 1 × WS2812 addressable LED
- 1 × 128x64 SSD1306 OLED (I2C)
- 1 × Push button
- Jumper wires and breadboard, or just solder it all together with wires
Optional: 3D-printed shroud to block direct LED light and only capture reflection
DOWNLOAD 3D FILE HERE
Wiring
- LDR voltage divider: Connect LDR to 3.3V and A0, with 10k resistor from A0 to GND.
- WS2812: DIN → D6 | VCC → 5V | GND → GND.
- OLED: SDA → D2 | SCL → D1 | VCC → 3.3V | GND → GND.
- Button: One side to D3, other side to GND.
![Space Drop Handheld Game [Solder Kit]](http://hackmakemod.com/cdn/shop/articles/C0012.00_04_21_15.Still031.jpg?v=1773510848&width=533)